

Japan’s character culture extends far beyond major anime studios and established toy manufacturers. Independent illustrators, small creative teams and dōjin artists also develop original characters for exhibitions, games, merchandise and personal projects.
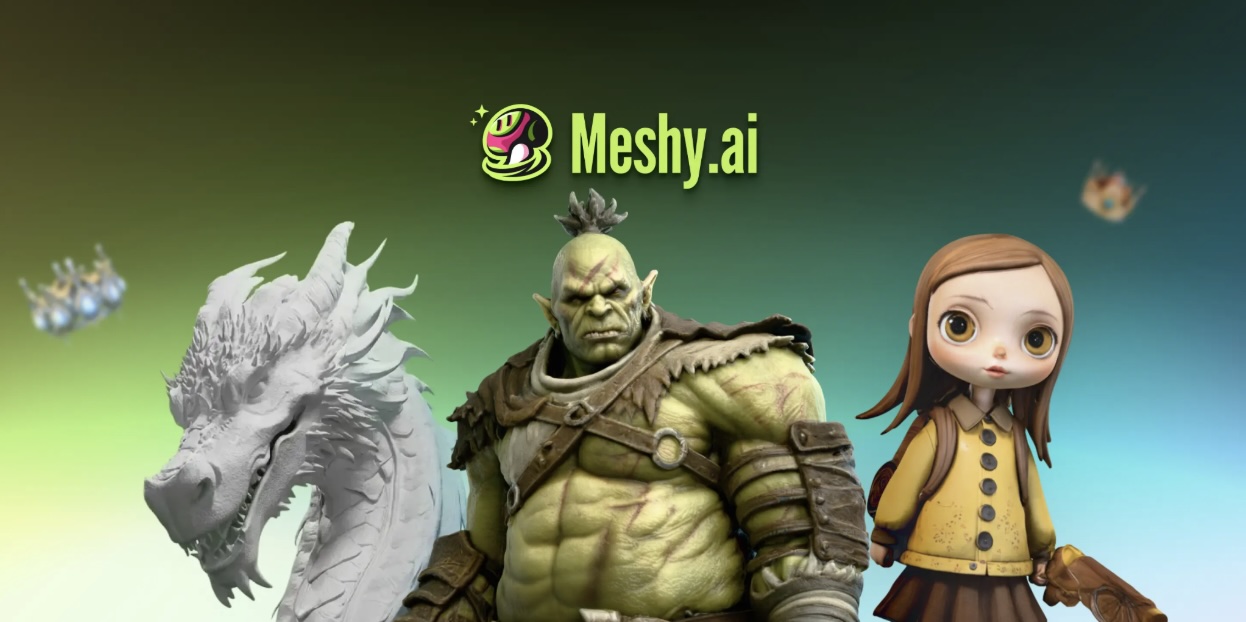
Turning a two-dimensional character illustration into a physical figure, however, introduces new challenges. A design that works from the front may appear unbalanced from the side. Hair, clothing and accessories that look natural in a drawing may be difficult to model or print.
AI-assisted tools can help creators produce an early 3D interpretation of their artwork. The result is not automatically a finished figure, but it can reveal design problems before significant time is spent on detailed sculpting or manufacturing.
Why Create a 3D Prototype?
A character illustration controls what the viewer sees. Parts of the design can be hidden, exaggerated or adjusted to suit a particular composition.
A physical figure must work from every direction. It also needs to stand securely, support its own weight and fit within the limitations of the selected production method.
An early 3D prototype can help creators evaluate:
- The character’s overall silhouette
- Head and body proportions
- The depth of clothing and accessories
- The position of the arms and legs
- Balance and centre of gravity
- The size and placement of a base
- How the design appears from different angles
This makes the prototype useful even when it will never become the final sculpt. Its purpose is to identify problems and support better creative decisions.
Begin With Original Character Art
The source image should communicate the character as clearly as possible. Use artwork you created or have permission to use.
A full-body image usually provides more information than a cropped portrait. The background should be simple, and the character’s limbs, clothing and major accessories should remain visible.
A neutral or moderately dynamic pose can be easier to interpret than a pose with crossed limbs or heavy overlap. Dramatic foreshortening may look impressive in an illustration but can create uncertain proportions during 3D generation.
Where possible, prepare a character sheet containing front, side and rear views. These views help establish details that a single illustration cannot show, including hairstyle volume, costume construction and the placement of equipment.
Generate an Initial Model
Creators can use an image to 3D AI to turn a character image into an initial three-dimensional model. This can provide a quicker way to explore the character’s volume and proportions before beginning a detailed manual sculpt.
The generated result should be treated as a rough interpretation. Rotate it and compare it with the original design.
Ask:
- Is the character recognisable from several angles?
- Does the hairstyle have the intended shape?
- Are the limbs positioned correctly?
- Have important accessories been included?
- Does the pose still express the character’s personality?
- Has the system invented details that were not visible?
Hidden areas may be interpreted incorrectly because the source image does not contain enough information. These parts will usually require manual correction.
Review the Silhouette and Pose
A strong figure should remain visually readable from more than one viewing angle.
Rotate the model slowly and examine the outline. Hair, weapons, sleeves and other large features should not disappear into the body. If several elements overlap from most angles, the figure may look visually crowded.
The pose must also work physically. A character standing on one foot, leaning heavily or carrying an oversized accessory may require additional support. Flowing hair or clothing can improve the composition but may also create fragile sections.
At this stage, creators can adjust the pose, enlarge important shapes or simplify secondary details. Making these changes before high-detail sculpting is usually more efficient.
Correct the Geometry
Generated geometry may contain uneven surfaces, intersecting components or excessive polygon density. A model can look acceptable in a preview while still being unsuitable for editing or printing.
Inspect the mesh for:
- Holes and open surfaces
- Disconnected parts
- Clothing passing through the body
- Merged fingers or accessories
- Distorted facial features
- Thin or unsupported sections
- Unnecessary internal geometry
Automatic repair tools may solve simple surface problems, but they cannot determine whether the design is structurally or artistically correct. Important areas may need to be rebuilt in conventional 3D software.
Facial features deserve particular attention. Small errors that are difficult to notice on screen can become obvious when the figure is viewed at close range.
Decide How the Figure Will Be Divided
Many figures are easier to print, clean and paint when separated into several parts.
A creator might divide the model into:
- Head and hair
- Torso
- Arms
- Legs
- Weapons or handheld objects
- Costume accessories
- Display base
Splitting the model can reduce the need for difficult support structures and make hidden surfaces easier to finish. It can also allow differently coloured parts to be printed or painted separately.
Connections between pieces should be planned rather than created randomly. Pegs, sockets and keyed joints can help parts align during assembly, but they require suitable tolerances for the chosen printer and material.
Prepare the Model for Printing
A visually complete model is not necessarily printable. Before exporting, establish the final dimensions and check the smallest details at that scale.
Thin hair strands, fingers, ribbons or weapon edges may break during printing or handling. These features may need to be thickened, joined to a stronger surface or redesigned.
The model should also have closed, watertight geometry. Examine the base and contact points to ensure that the figure can stand securely.
After exporting, open the file in slicing software and review:
- Model dimensions
- Print orientation
- Overhangs
- Support requirements
- First-layer contact
- Hollow areas and drainage holes
- Estimated material use
A small test print can reveal problems that remain invisible in a digital preview. It may show that a connection is too tight, a detail is too shallow or the figure is unstable.
Refine the Final Character
The prototype should guide the next version rather than become the final product by default.
Creators can use the test model to determine which areas require additional sculpting and which details can be simplified. They may rebuild the face, refine clothing folds, redesign the base or adjust the pose after handling the printed prototype.
This process preserves the creator’s authorship. AI helps establish an early volume, while the final character is shaped through deliberate artistic and technical decisions.
Respect Copyright and Creative Ownership
Japan’s character industries depend heavily on intellectual property. Creators should not upload or reproduce protected anime, manga or game characters without permission, particularly when the resulting models may be distributed or sold.
The Japanese Agency for Cultural Affairs provides an official overview of Japan’s copyright system, including general information about authorization and the use of copyrighted works.
For an original project, creators should retain source illustrations, drafts and records of manual changes. They should also review the terms of any AI platform, modelling software, asset library or marketplace involved in the workflow.
Legal requirements vary according to the artwork, intended use and distribution method. When commercial rights are unclear, professional advice may be necessary.
Final Thoughts
AI-assisted image-to-3D generation can help independent creators evaluate a character before committing to a complete figure sculpt. It makes it easier to inspect proportions, test a pose and identify structural problems at an earlier stage.
The generated model is only the beginning. Successful figure development still requires artistic correction, mesh repair, part planning and physical testing.
Used carefully, the technology can support experimentation while leaving the character’s identity, quality and ownership in the creator’s hands.